Overview
The tutorial script is in your "My Documents" directory under "Sunfrog
Film Scheduling Sample Files". (Note that if you are logged in under
a different account than the user that installed Sunfrog, you may need to copy
the file over from their "My Documents" folder).
The script is a 20 minute short entitled "Mincove". The script is long
enough to be a serious undertaking, but short enough to provide a manageable
tutorial experience.
Read the script to familiarize yourself with the production and then start
Sunfrog.
Various stages of the completed tutorial are available. These are
"Tutorial_One.bfs", "Tutorial_Two.bfs", and so on.
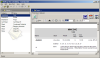
Import Script
Read the topic "Importing Scripts" and
then import the sample script.
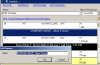
Select File | Import | Script, navigate to the script and select "OK".
Sunfrog will switch to the Breakdown Items view so that you may categorize
breakdown items.
Most professional AD's will insist on reading the entire script twice,
doing an initial breakdown by hand, and finally entering each item manually. This
is so that they will not accidentally leave out any element of the production. The script importer can only "guess" at what constitutes a
breakdown item by CAPS LETTERING, so it is important that you carefully check
that no breakdown item is left out of your production.
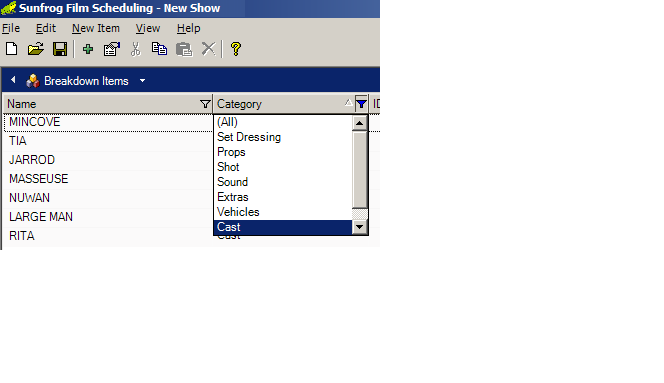
Categorize Imported Breakdown Items
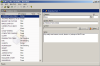
The importer can guess at what items are cast members by dialog, but won't be
able to categorize all the items. So, the next logical step is to
categorize all the breakdown items.
Add Additional Breakdown Items
Similarly, not all breakdown items will be marked in CAPITALS. Also,
often items will be implicit from a previous scene and not mentioned in the
script in the following scene. Therefore, it is necessary to add
additional breakdown items by hand.
If your script is a feature or a similarly complex production, it is
recommended you take a few days to do a pencil-and-paper breakdown by hand, to
make sure that you have accounted for every last breakdown item in the
production. For more in depth information on breakdowns, refer to
"Film Scheduling" by Ralph S. Singleton.
Add Cast and Crew Contacts
Add at least a Producer, Director, and 1st AD to be reported on the call
sheets. During the casting process you may have several options for each
role. You can enter all of your actor contacts and finalize the casting
decisions later.
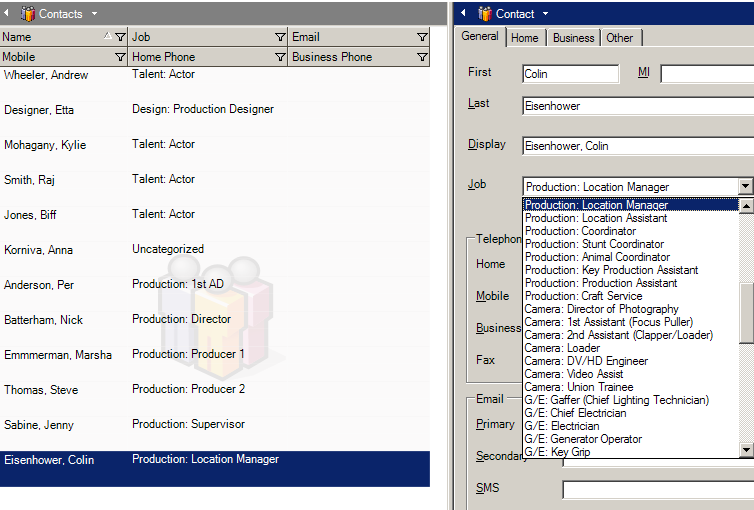
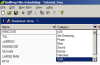
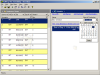
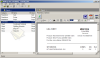
Finalize Casting Decisions
At some stage every role will be officially cast. To cast an actor,
bring up a Cast Breakdown Item on the
right and the Contact List on the left.
If you have many contacts, you can use the "Find" textbox as shown in the
screenshot to search for the actor's name.
Find the actor that that you want to cast and then drag the item into the
"Contact" text box on the right.
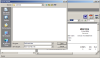
Connect Sets To Locations

Each set of the production can be connected to a physical location. The
process of connecting sets to locations is similar to that of connecting cast
breakdown items and actors. Bring up the relevant
Breakdown Sheet on the right and the
Locations List on the left.
Find the desired location and then drag the item into the "Location" text box
on the right.
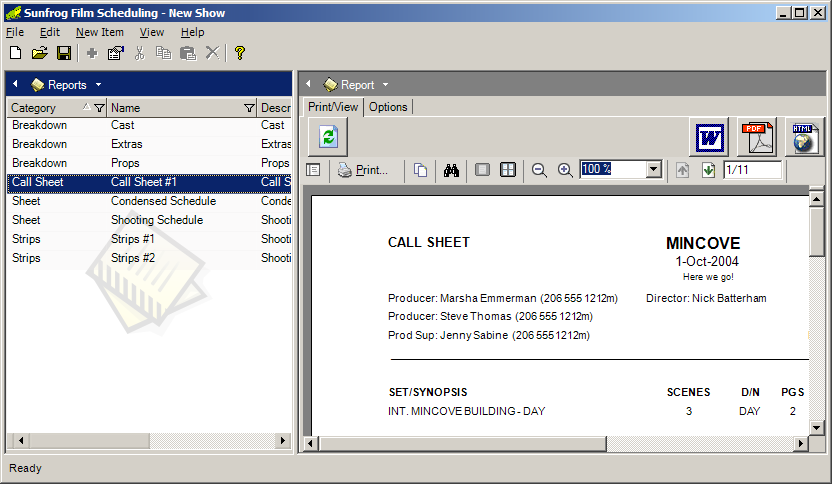
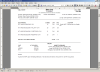
Generate Cast Report
The director will be eager to have the cast list so that rehearsals can
commence. Go to the "Reports" list,
double click on "Cast", and then export to PDF, Word, or HTML.
Generate Props Report

Similarly, the production designer will appreciate a list of all props in the
production (although their department will have most likely already made their
own list). Go to the "Reports" list,
double click on "Props", and then export to PDF, Word, or HTML.
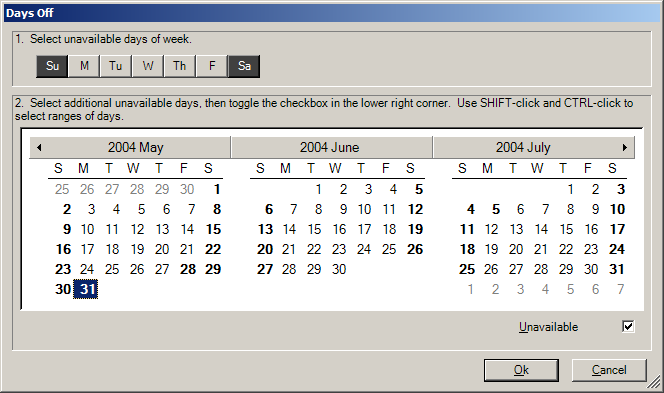
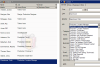
Decide the Production Calendar
After consultation with the director and producers it is time to decide when
shooting will begin. Select the day at the right of the schedule editing
pane.
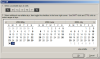
You will want to decide what days of the week to work and what additional
days are holidays. Select these in the "Days Off" dialog.
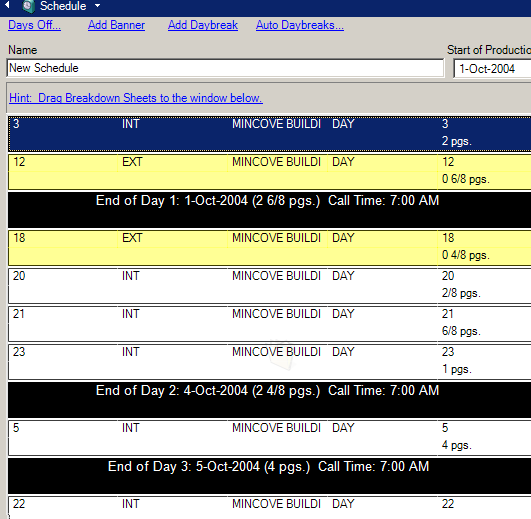
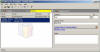
Create the Schedule
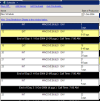
Bring up the Breakdown Sheets list on the left, and the Schedule edit pane on
the right. Drag breakdown sheets to the right to create your schedule.
You may find it helpful to sort your breakdown sheets on the left by set name,
since you will generally want to "shoot out" a set before moving onto the next
set.
Double click on the black daybreaks to set the general crew call time for
each shooting day.
Read the Schedules topic for more
information.
Add Banners to Report Company Moves
Banners allow you to report "Company Moves" and other events planned for the
shoot day. The text in the banners will appear in the call sheet and
schedule reports.
Create Call Sheets
One of the most important reports is the "Call Sheet". A
call sheet is handed out to every cast and crew member scheduled for the
following shoot day. Read the
Call Sheet topic for more information.
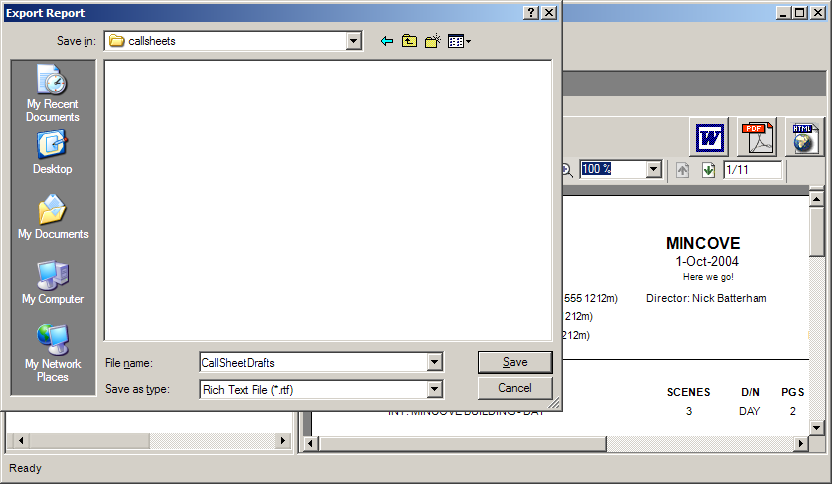
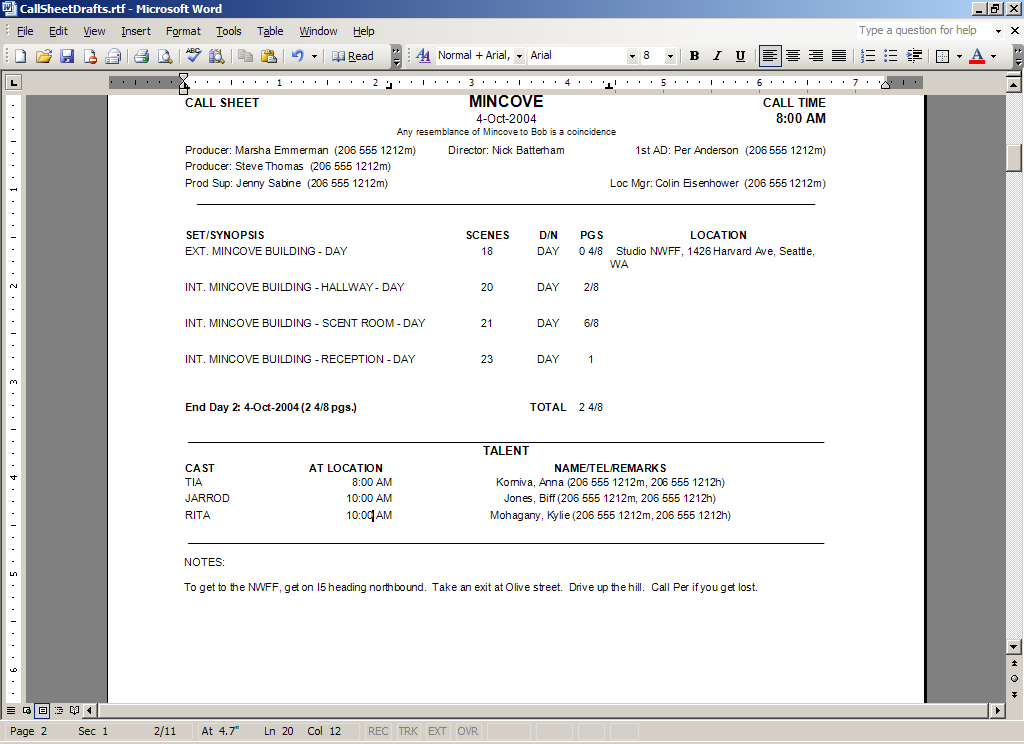
Finalize Call Sheets in Microsoft Word
(or your favorite word processor)
Because every production is different, Call Sheets can be
formatted in a variety of ways. The call sheet reports included with
Sunfrog have been designed for easy export to Microsoft Word for further
editing before handing out to cast and crew. This is where you update call
times for individual actors and write up the directions so that the actors crew
can find the location. You can also export to any word processor which
supports the RTF (Rich Text File) format. Note that WordPad is not
recommended for editing exported call sheets because of formatting issues - it
doesn't quite seem to get the tab stops right.
NOTE - if you have an application that can edit PDF files
directly (such as an enhanced version of Acrobat), you can export your Call
Sheets to PDF and edit from there.
Putting It Together
This tutorial has hopefully given an overview of how to schedule
your production. The more accurate your breakdown and call sheets, the
better off you will be at winning the paper war. If anything changes
during the course of your production, you can always go back to Sunfrog and
update your schedule, contact, breakdown item, breakdown sheet, or report.